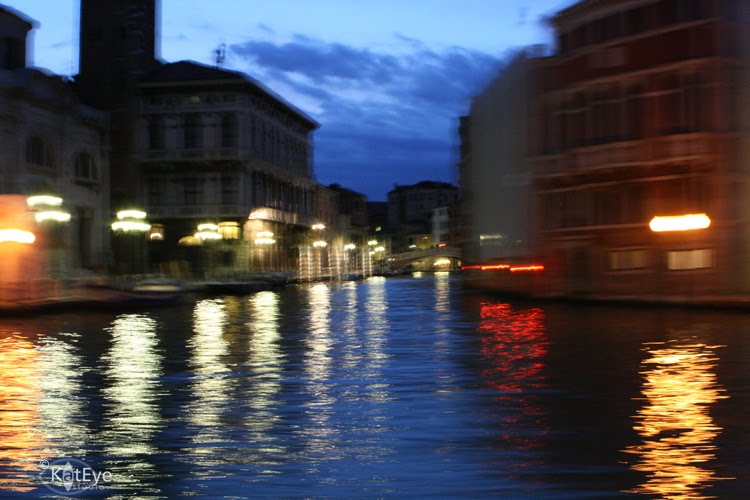
Earlier this year, as I visited art museums in Madrid, I found myself drawn to paintings with two features: Interesting skies and rim light. When that happens, it’s usually only a matter of time before these elements start showing up in my photography. We’ve already covered the sky as an Exploring with a Camera topic in Capture the Sky, so today we’re going to complete my Madrid fascination and talk about subjects Rimmed with Light.
If a subject is rimmed with light, you get an effect of glowing edges of light outlining your subject. Rim lighting is a form of backlighting, but with the light source off to the side. In my recent study I’ve found it takes some specific conditions to capture rim light:
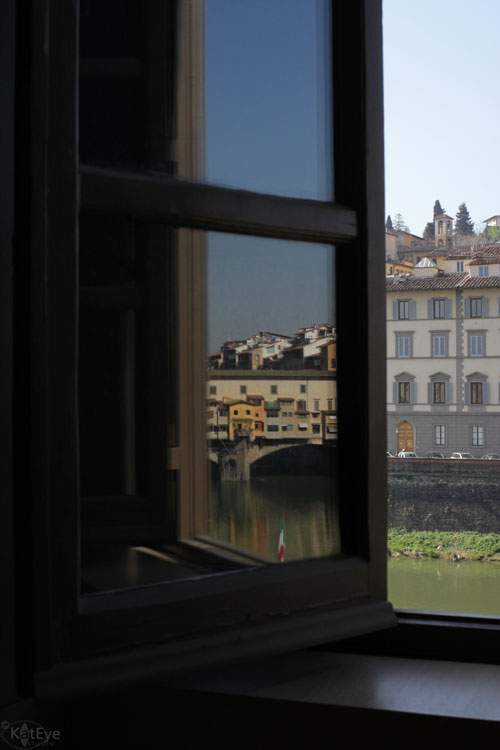
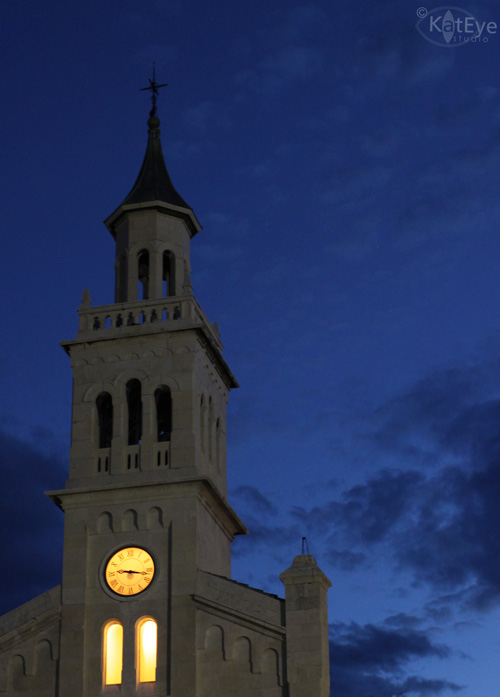
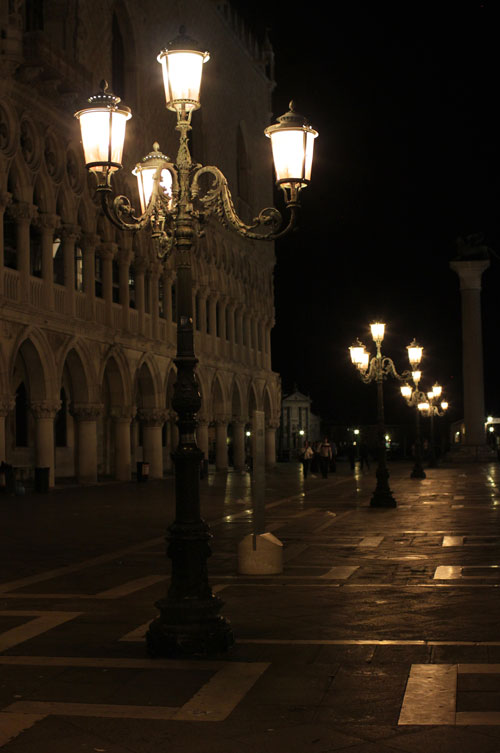
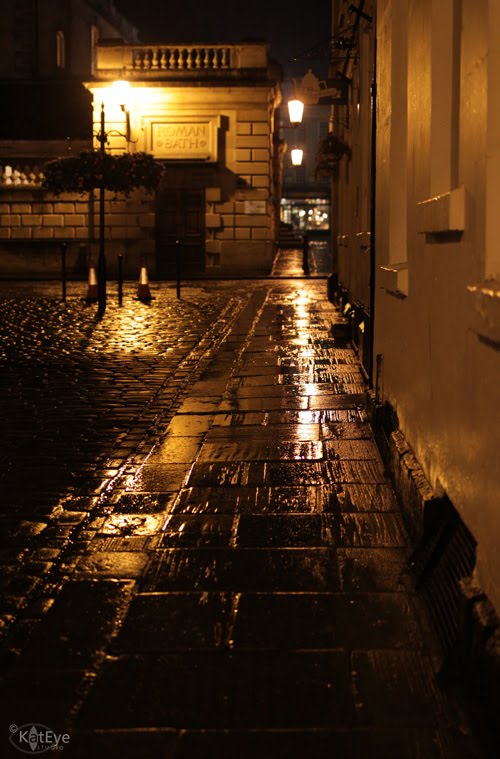
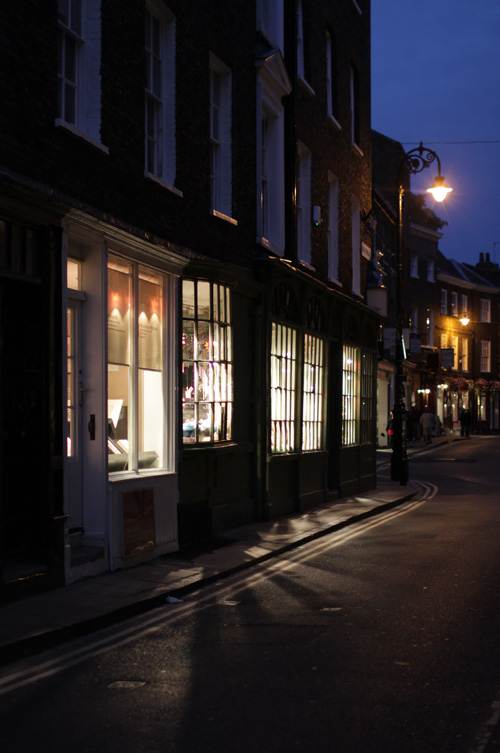
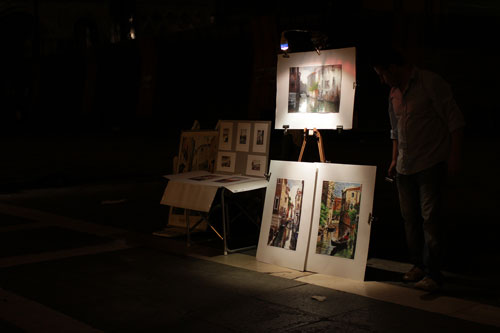
- Directional light. If there is even light, you won’t have the strong light/dark contrast needed for rim light. You need directional light in order to get a strong contrast in light and shadow. The directional light doesn’t have to be direct sunlight, it can be a lamp or a window in an otherwise unlit room.
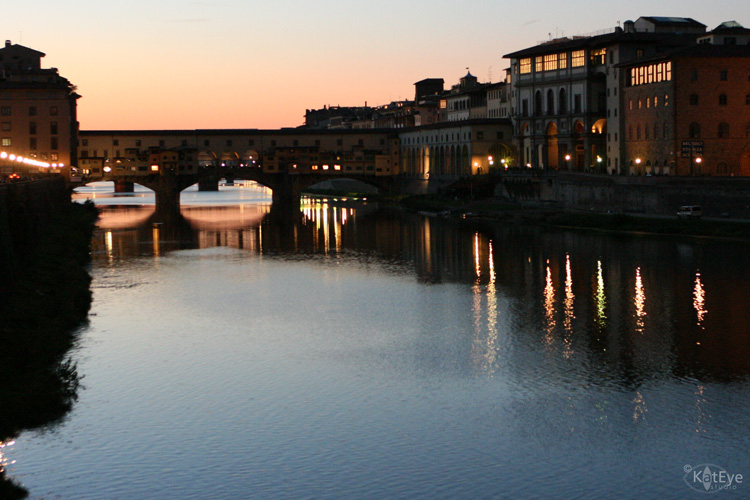
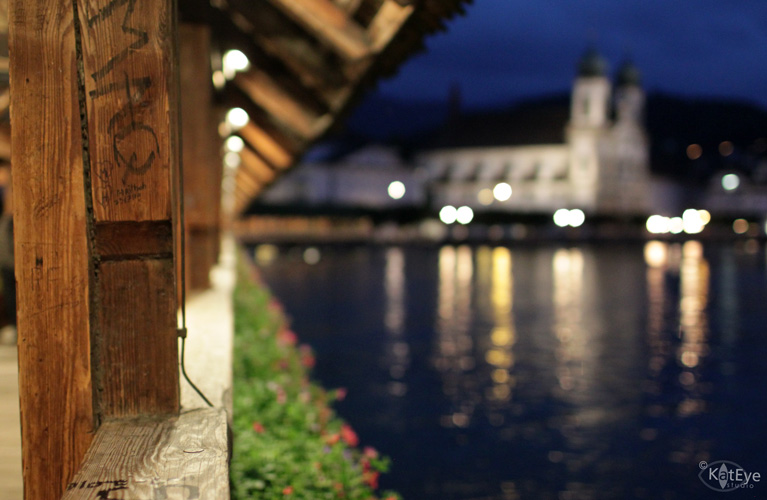
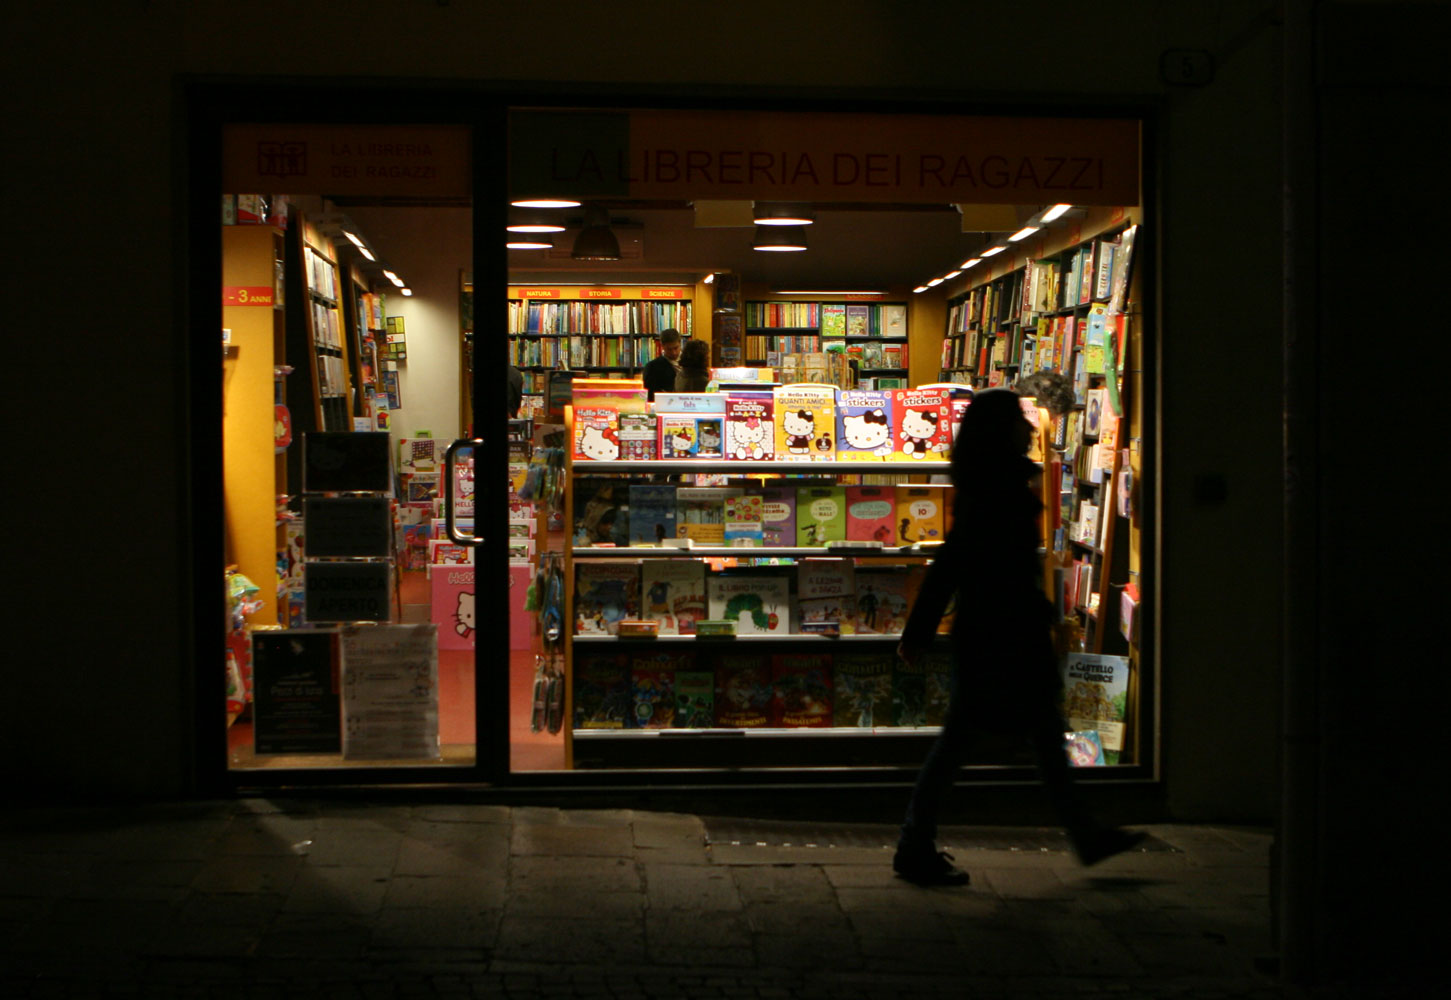
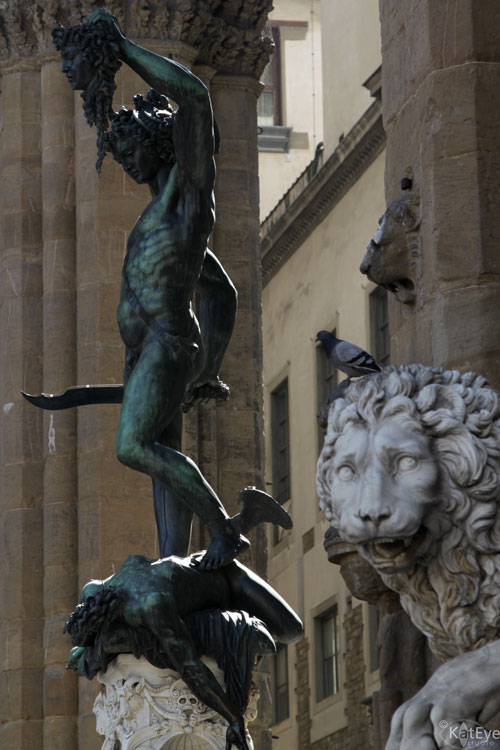
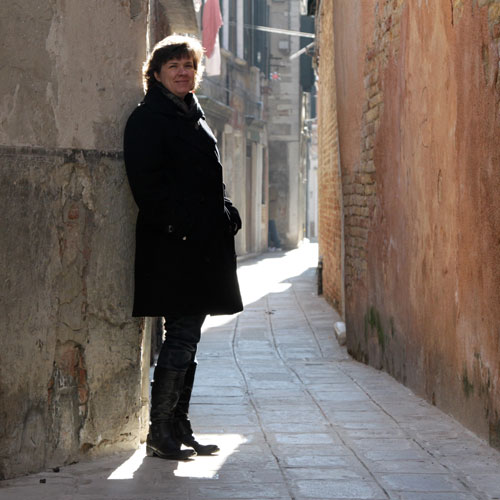
- Angle of light source, subject and camera is important. To get rim light, the light source should be behind the subject but off at an angle. Low light works best, such as the sun in morning and evening, but is not always required. If the light is directly behind the subject, you will get a silhouette. If the light source is behind and only slightly off to the side of the subject, you can get rim light but you are at risk of lens flare (which you may or may not want). If the light is completely to the side of the subject, you get sidelight and will not have the “rim” effect.
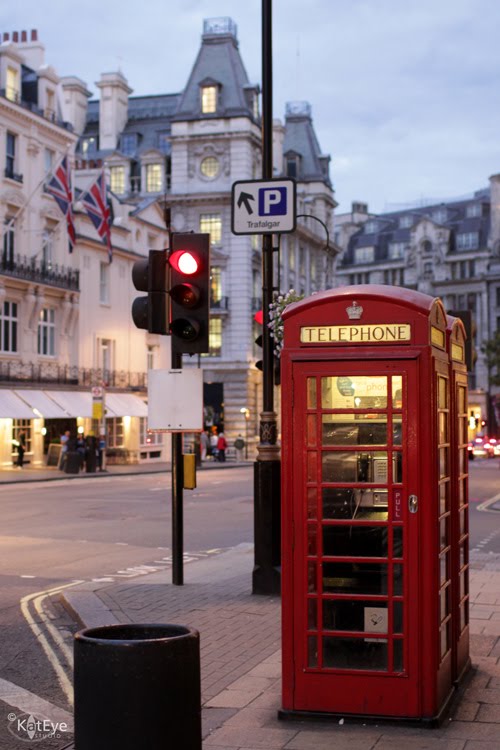
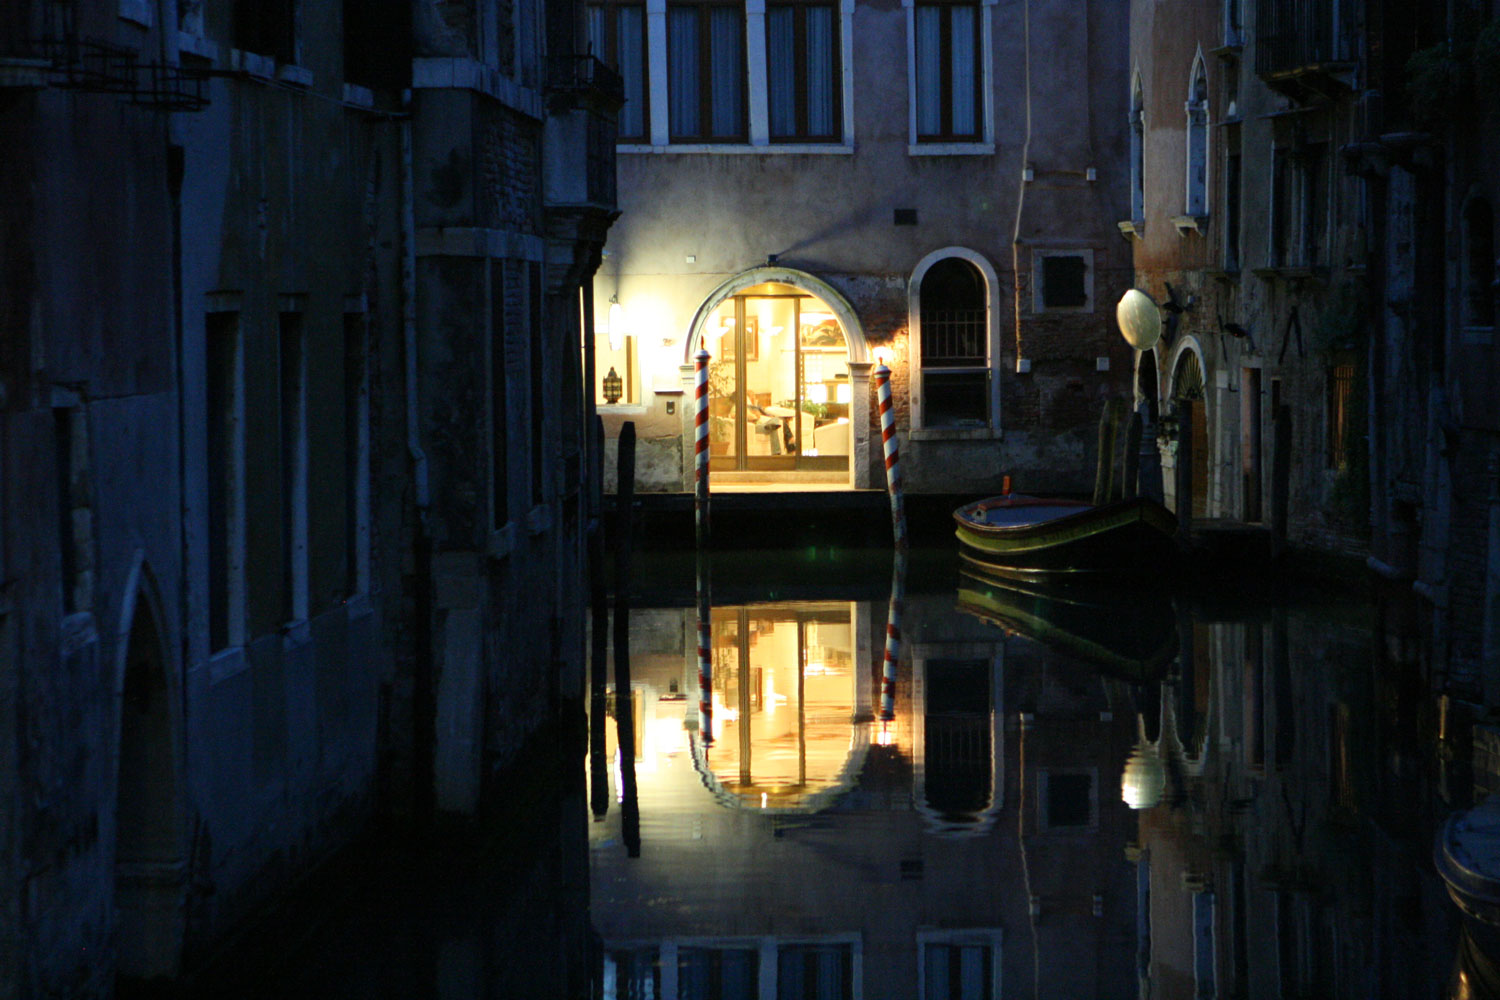
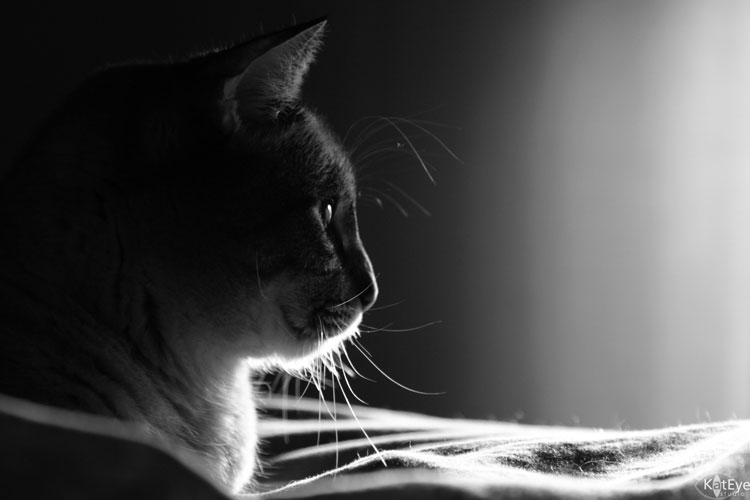
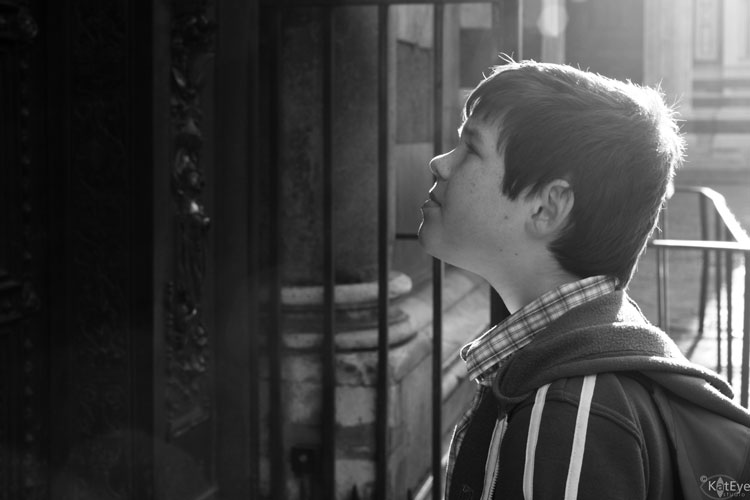
- Contrasting Background. What’s behind your subject matters, you need some contrast to really get the rim light to show brilliantly. The darker the background, the better the rim light will show up. A background in shadow works very well, as does converting images to black and white to highlight the get the tonal values and avoid color distractions.
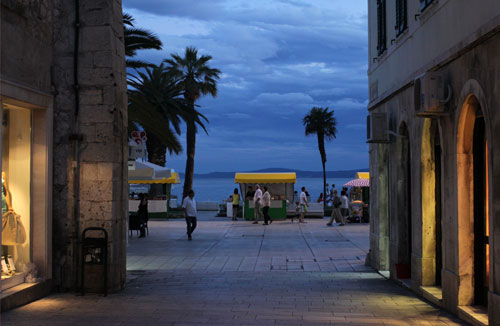
- Exposure. The exposure you choose will effect how the rim light shows up and can significantly change the focal point of the image. For dramatic contrast with focus on the rim light, expose for the rim light with subject underexposed. To bring out more detail in the subject, overexpose the rim light.


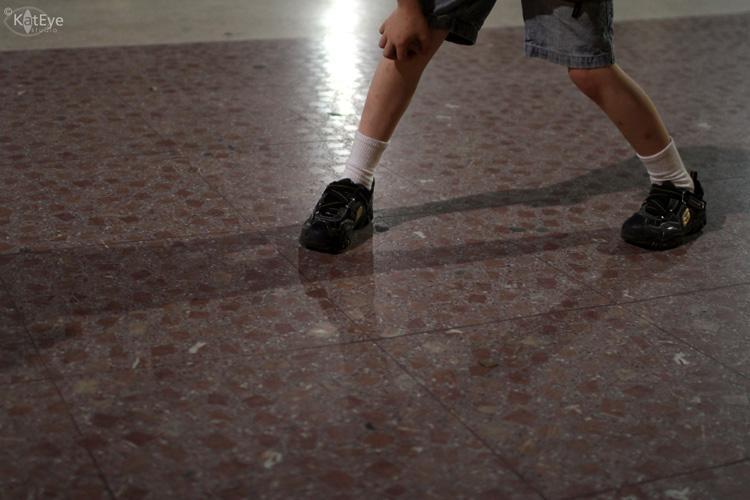
Having all of the elements required to capture rim light can be challenging, especially with moving subjects. It is completely worth the challenges, however, when you see the end result of a subject beautifully outlined with light. I’m still on my quest for images with rim light, and now that I’ve learned a bit more about how to capture them it will be easier to see when the conditions are right.
How about you? Have you been able to capture subjects rimmed with light? Look through your archive or go out seeking the rim light, and share your images here with us. You can link in below or add your images to the Flickr pool, or both. If you have any other tips for capturing subjects outlined in light, share those too! I look forward to learning from you.