Kat Eye Studio

  • Home
  • Portfolio
  • Books
    • Art with an iPhone
    • Digital Photography for Beginners
  • Workshops
    • Mobile Photography Workshop Series
    • iPhone Art Workshop
    • Out of the Box Composition Workshop
    • Photography & Creativity Talks
  • Free Resources
    • Mobile Tutorials
    • Exploring with a Camera
    • Liberate Your Art Postcard Swap
  • Blog
  • About
    • Artist Statement
    • Background & Experience
    • Contact

June 5, 2012 by Kat

Ouch

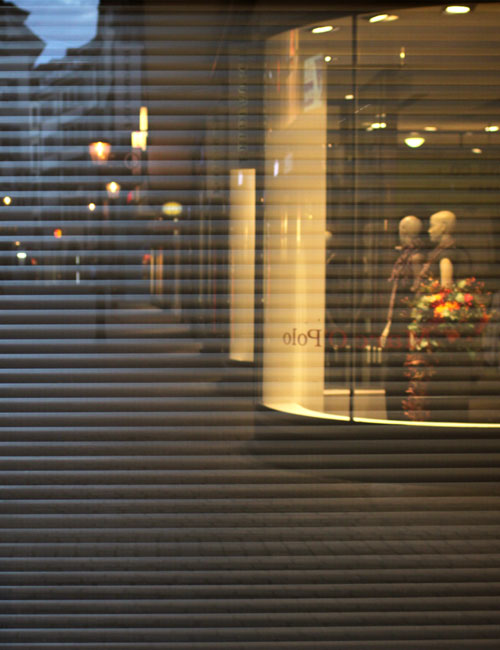
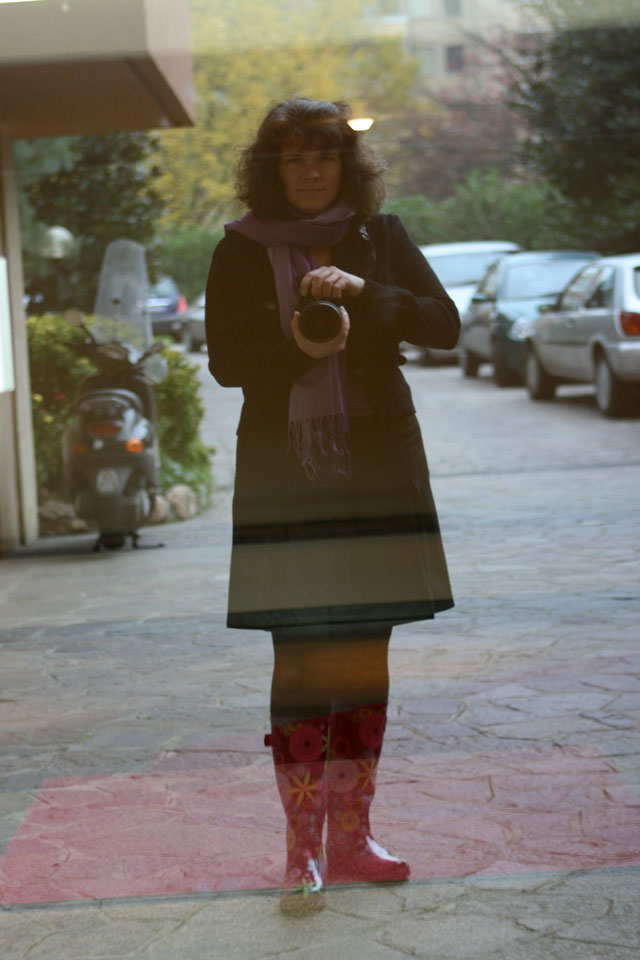
When I took this picture, I wondered why someone would write OUCH on an empty shop window. I liked the reflections of the double-paned glass and thought processing it would be fun, even as I wondered what I would ever use it for.

Apparently, I took the photo for today. As I sit in my achy body and sip my tea to soothe an achy throat and I wonder if I should make a doctor’s appointment for this achy ear of mine, I share the OUCH since that’s how I feel.

I sincerely hope you all are feeling better than me today!

Filed Under: The Kat Eye View of the World Tagged With: glass, monochromatic, Oregon, Portland, reflection, word

July 7, 2011 by Kat

Exploring with a Camera: Reflections in Glass (2nd edition)

[Author’s Note: Through the summer months Exploring with a Camera will be “Second Edition” postings of previous explorations with some new images. You will find a new link up at the end of this post to share your photos, and your photos are also welcome in the Flickr pool for the opportunity to be featured here on the blog. I hope that you will join in!]

I’m so excited for today’s exploration! The “Exploring with a Camera” series is about seeing things around you in a different way. To get good photographs, you first have to see, like I discussed in this post. Today we’re looking at capturing images with Reflections in Glass.

Reflections in glass are so cool because the image you see is not a direct image of a subject. What’s behind and around the glass changes the images, and the reflection itself often softens and distorts the subject.

Below is an example from our recent stay in Lucerne, Switzerland [2010]. In this image, the only “direct” image you are seeing is straight through the walkway. The rest of the arches and store windows are reflections. See the people on the right? They are really on the left, not directly visible to the camera, but in the reflection they have a “ghost image” quality. It’s like an optical illusion, but it’s just looking down a corridor lined with glass.

To get this image I moved around and took photos from several different angles and at different times with varying amounts of people. When I took this specific shot, I didn’t even notice the people visible in the reflection on the right because I was focusing on the “direct” part of the image being free of people.

Here is another example, of my son looking out of a train window. The reflection draws your eye to his profile. Look at it for a while and you start to see the symmetric shape between the two profiles. You’ll also notice that the key areas of his face in the reflection – eyes, nose, lips – are clearly visible while the other parts are modified by what is seen out the window.

If there is something immediately behind the glass, you can get really cool effects in your reflections. The security door immediately behind the glass in this photo enabled me to get an uninterrupted scene of the reflected street in Lucerne but with a really unique texture.

A reflection can completely change a setting. Without the reflection of me and my family, the image below would be just another doorway to a modern building. Nothing of note that I would routinely photograph. With the reflection, it becomes a family portrait with a sense of place – you can see the wording above the door is in Spanish (we were in Barcelona) and the funky tube things draped across the top show part of the science museum we were entering. Notice how everything in the photograph seems to draw your eye to the center, where the reflection is. Also notice also the cool “double” effect with our reflections because the entrance had two sets of glass doors.

Here is another reflection of an entrance, a self-portrait of me at our apartment building in Italy. I love the sense of place that is achieved by what is reflected in the background, along with the tiny little suggestion of what is behind the door. Not a huge fan of my pictures of myself (who is?), I also like how the reflection softens my image so that I don’t focus on all of the things I immediately see as “flaws” in a regular photograph. Maybe I’m able to better see the real me, as others see me, because it’s a reflection.

And, just a reminder, glass is just not windows and doors! Here is a wine bottle, but in it there is a reflection of me and my family along with the buildings across the street in Nice, France. The subject here is the bottle, but the reflection adds interest.

Tips for getting your own images of reflections in glass:

1. Look for indirect light on both sides of the reflection. In reviewing pictures for this topic I realized that the most interesting reflections have indirect light as the main light source – either in shade or cloudy day or evening light. When there is a direct or strong light source on either side of the glass you will not get the kind of reflections I’m showing here.

2. Look in and Look out. Keep you eye out for reflections on both sides of the glass, whether you are indoors or outdoors. When you see the reflection, also notice what you see through the reflection. That can make or break the image! It’s easy to focus so much on the reflection that you don’t see something distracting on the other side.

3. Change your perspective. If you see a cool reflection, move around and photograph it from different perspectives and compositions. Because of the way you can often see what’s on both side of the glass, you may find a more interesting composition, or even a different reflection, if you move a few steps to the left or right than where you first noticed the reflection.

4. Look for reflections in all kinds of glass – not just windows. When you start to see these, you will notice that glass is everywhere, in all shapes and sizes and colors.

Update: The lead-in image in this post is from my latest trip to Venice. I had a prime spot at the front of the Vaporetto and loved getting a few of these reflection images. If you didn’t recognize this as the view from the Accademia bridge alone, I have the text right there to help you! Since this original post, I have been on the lookout for interesting reflections. You can get great contrasts and interesting compositions this way.

Have fun seeing all of the reflections in glass around you in a whole new way. Share your recent or past explorations on this topic, link up below or join the Flickr group to share.

FYI – Links will be moderated. Please use a permalink, ensure that your linked image is on topic, and include a link back to this site in your post through the Exploring with a Camera button (available here) or a text link. Thanks!
PS – Visit Mortal Muses today, I’m musing on Summer Fun and giving away two spots in my Find Your Eye: Starting the Journey class!

Filed Under: Exploring with a Camera, The Kat Eye View of the World Tagged With: glass, reflection, reflections in glass, second edition

March 10, 2011 by Kat

Exploring with a Camera: Square Format

Composed

Happy Thursday! Welcome to Exploring with a Camera day, my favorite day of the week. Today we’re going to learn about composing with a Square Format. At the end of the post there is a link up, for you to share your images using a square format. If you want a chance for your Square Format image to be featured here on the blog next week, you can also place your photo in the Exploring with a Camera Flickr group.

I got the idea for playing around with Square Format from the book 150 Photographic Projects for Art Students by John Easterby. I haven’t used this format before, so I picked up another book that has become my “encyclopedia” for composition, The Photographer’s Eye by Michael Freeman, and looked at the traditional compositions for a square format. With a little bit of information in my head to guide my eye, I was off and exploring Square Format.

Let’s see what I learned…

Getting it Square

Unless your main camera is your cell phone, chances are you don’t have a square format camera. The typical frame format for digital SLR cameras is 3:2. This means that the length is longer than the height of the frame by one third. A standard size in this format is a 4×6 print. For point-and-shoot cameras the typical frame format is 4:3, where the length is longer than the height by only one quarter. It is closer to square but still not quite the same.

The first step of this exercise is getting a square format. You can always crop the photo into a square format in post-processing. This can teach you a lot, but it doesn’t help you to play around with composition at the time of taking the photo so you can make real-time corrections.

What the 150 Photographic Projects book suggests is creating a “pseudo” square format camera by blocking off part of the LCD screen so that you view only a square. Since I intensely dislike using the “live view” mode for composing with the LCD on my dSLR, I decided to modify my point-and-shoot camera (aka my “little camera”). This turned out great, because I was able to leave my little camera in this format for several weeks, even taking it on our vacation to Sicily, while not interfering with my normal photographic process using my primary dSLR camera.

To modify the LCD screen, I just taped a piece of computer paper over the LCD screen as shown below. I used computer paper because I wanted to have a similar color to the rest of the camera, to give a visually consistent border on the frame. Computer paper was not thick enough to block the light coming through the LCD, so I slipped a small piece of dark cardstock behind the taped computer paper and it worked beautifully.

I keep my camera set on center spot for focusing, so I just focus and recomposed as needed, like I do normally. With this minor modification, I was ready to go. My 9-year-old son, observing this little exercise, would occasionally take his camera and put a finger over the edge of the LCD as he composed saying, “Square Format!” In a pinch, that works too!

What follows are some of the compositions I explored. You’ll see a caption below each photo. “Cropped” means that the photo was created using the standard format frame for the camera and then a square format composition was explored using cropping in post-processing. “Composed” means that the photo was composed using my modified-LCD-screen as shown above. I still had to crop in post-processing to make the image a true square format, but the composition was decided in-camera.

Random


With the even sides, a square format is very static. This makes it a good candidate for “random” composition, where the eye takes in the whole at one time. This image of oranges on the tree from Sorrento was a good candidate for square format. There wasn’t a clear “focal point” with these oranges, it was more about the light,  shape and color of them on the tree.

Cropped

Another image I would consider to have random composition is this mountain scene from the Alps just north of where we live. There is no clear focal point in this image either, it is of the scene – sun, mountains, light, shadow – and square format works well. I actually needed to crop this one, since there was part of someone’s head on the right hand side. I was in line for the gondola down the mountain and couldn’t get a full frame image unobstructed. A square format crop allowed me to make this image something useful rather than throw it away.

Cropped

Concentric


With it’s even sides, square format provides the unique opportunity to nest a circle in the square. Coming across a pretty door in Cefalù, Sicily, I captured one of the elements carved in wood using square format.

Composed

This door design from Erice, Sicily, captures another circle in the square. This falls into both the concentric and centered composition categories.

Composed

What other circles can you think of that would be great to capture in square format? Flowers, something like a Gerbera daisy, come to my mind.

Centered

With square format, you can get a good effect with centering your focal point, something that doesn’t work as well in rectangular formats.  This best capture of this window in Venice using square format was centered.

Composed

The ancient Greek Temple of Concord, found in the Valley of the Temples in Sicily, is front and center in this image. It’s all about the temple here!

Composed

With square format, you can also put the horizon on the center line with good effect, unlike a rectangular format. I saw some great examples of this by American photographer Harry Callahan when I visited an exhibit of his work in Paris. Here is one of his images as an example.

Photo by Harry Callahan

Diagonal


Just like in rectangular format, diagonal lines can be very interesting compositions. The image below of Murano glass displayed in Venice is an example of both diagonal and centered composition. The thing I noticed when playing around with cropping diagonal images is that you need a different angle on the diagonal line to work in square format. If an image was composed with a diagonal line for a rectangular format, there is a good chance it is at a wrong angle to just crop into square format. In the case of this image, I had played around with different angles and happened to have one that worked for square format.

Cropped

Off-Centered


With more rectangular subjects, I found that the subject needed to be off-center using square format. A centered image works with a square or circular subject, but not so well for a person or a tree. Cropping this self-portrait of me in Venice solved the problem of too much wall on either side. Normally, I would have taken this in a vertical orientation, but you can’t really do that when you set your camera on a step. Square format solved my composition problem.

Cropped

The tree-in-the-field image below from Parco di Monza is influenced by the Rule of Thirds. It works with square format too!

Composed

Balance


Ultimately, what it all comes down to in any composition, regardless of format, is balance. The elements have to be balanced within the frame for a pleasing image. The lead-in image, another scene from the town of Cefalù, Sicily, is a good example of a square format image that doesn’t follow any of the specific compositions described above, but balances the elements of color and shape into an interesting photo.

This balcony with the interesting ceramic pots in Taormina, Sicily was another square format image where the composition was derived by balancing the elements of color and line.

Composed

So, how about you, do you have any experience with square format? If not, I encourage you to explore along with me here. Go through your archive and see if there are any images where a square format crop would work well. Modify your camera for a few days to create a “square format” and see what you find. Come back here to link in and share your findings with the rest of us. It will be interesting to see all of the takes on square format that you link in for this theme!

Filed Under: Exploring with a Camera, The Kat Eye View of the World Tagged With: balcony, Cefalu, door, Erice, glass, Italy, ruins, Sicily, Sorrento, square, square format, Taormina, tree, Venice, window

December 20, 2010 by Kat

Sweet and Tangy, with a Kick

Ah, Limoncello. The wonderfully sweet and tangy after dinner drink found in Italy originated around Sorrento, where we stayed on our recent trip. All along the Amalfi Coast you find shops boasting their own Limoncello production, offering you a taste. Mmmmm… Be warned though, this drink is strong, 30 to 40% alcohol. You only need a tiny bit! I discovered this liqueur on my very first business trip to Italy in 2008, and fell in love with it.

Lemons and other citrus are grown in this region, and have two crops a year – around May-June and November-December. It was very neat to see the groves of trees with the fruit on them, even the trees along the streets in the towns are citrus. The lemon is the symbol of the region – everything had lemons on it! We enjoyed walking along, popping into the different stores for a sample. We also discovered Limoncello Crema – the white-ish Limoncello made with milk instead of water – and love that even more.

Limoncello is easy to make, you just need lemon peel, 100-190 proof alcohol, water, sugar, and time. I found a good, detailed description of the process here. I’ve never made it, but I want to try someday. It will be a sweet taste of Italy I can make wherevery I live.

Today’s 9 Muses Musing prompt is SWEETS. Tomorrow’s is FAMILY. Come on over and see what sweet treats are shared today!

Filed Under: The Kat Eye View of the World Tagged With: color, glass, Italy, lemon, Sorrento

December 16, 2010 by Kat

Loving the Lights

I am so loving the lights around me! How about you? The reflection of all of the lights in this wineglass caught my eye, that’s what I was trying to capture in this restaurant in Sorrento. The background light bokeh, self-portrait in reflection and the memory of delicious wine were just bonuses that came along for the ride.

The 9 Muses Musing theme today is LIGHTS. It’s my day as muse, and I’m sponsoring a space in my class, Find Your Eye: A photo course with heart and soul, as the giveaway. I hope you will come by and link in or comment today for a chance to win the space.

Tomorrow’s theme is BELLS. See you then!

Filed Under: The Kat Eye View of the World Tagged With: bokeh, glass, holiday, Italy, light, Sorrento, wine

December 7, 2010 by Kat

Story in Glass

These are my absolute, hands down, favorite ornaments in the world. Every time I go to Murano now, I pick one up. Come see more of the story behind them in my Mortal Muses triptych post today.

Have a great day!

Filed Under: The Kat Eye View of the World Tagged With: christmas, color, glass, Italy, Murano, ornament, yellow

Next Page »
  • Email
  • Facebook
  • Instagram
  • RSS
  • Twitter

Upcoming Events

Books Available

  Digital Photography for Beginners eBook Kat Sloma

Annual Postcard Swap

Online Photography Resources

search

Archives

Filter

  • Email
  • Facebook
  • Instagram
  • RSS
  • Twitter

Upcoming Events

© Copyright 2017 Kat Eye Studio LLC